

Introduction:
In today’s digital age, harnessing the power of artificial intelligence (AI) is crucial for organizations seeking to gain insights from vast amounts of unstructured data. One such powerful tool in IBM’s arsenal is the Watson suite, offering advanced capabilities in Natural Language Understanding (NLU) and custom machine learning (ML) model creation through Watson Knowledge Studio. This blog explores the process of creating a custom ML model using Watson Knowledge Studio and seamlessly integrating it with Watson Natural Language Understanding, empowering users to unlock deeper insights from textual data. Let’s delve into the steps required to embark on this journey.
Here is the step-by-step guide to achieve it
- Login to you IBM cloud account. (https://cloud.ibm.com/login)
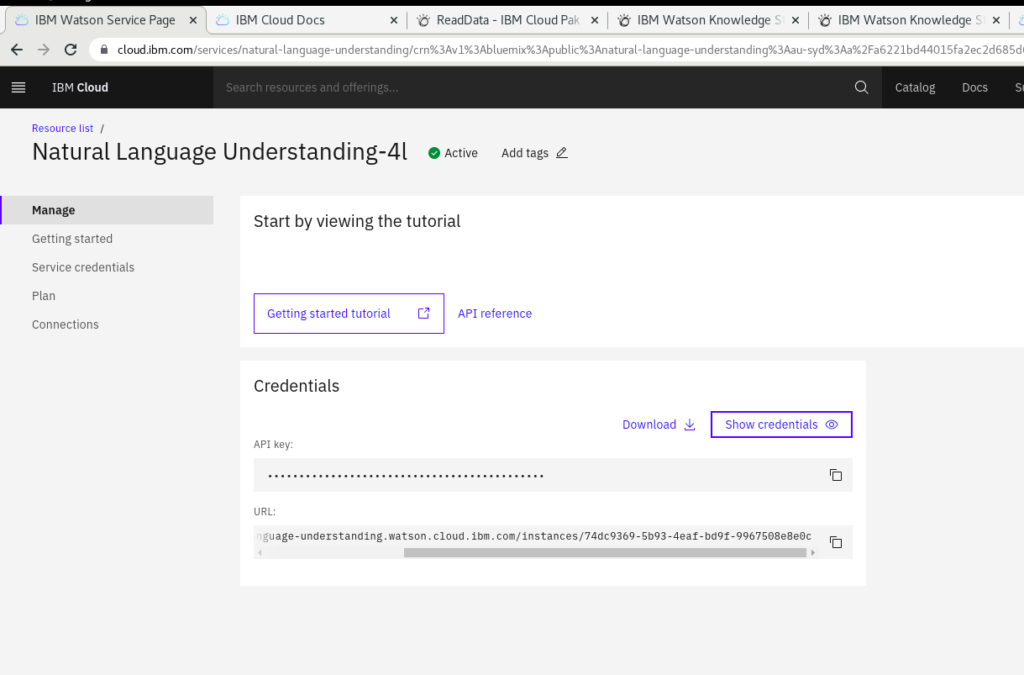
- Creating an instance in Watson NLU service
- Search for the Natural Language Understanding “service” or “create” an instance from the Cloud dashboard.
- The Lite plan is now free of cost and can be used for learning/internal purposes.
- Accept the terms and conditions to create an instance.
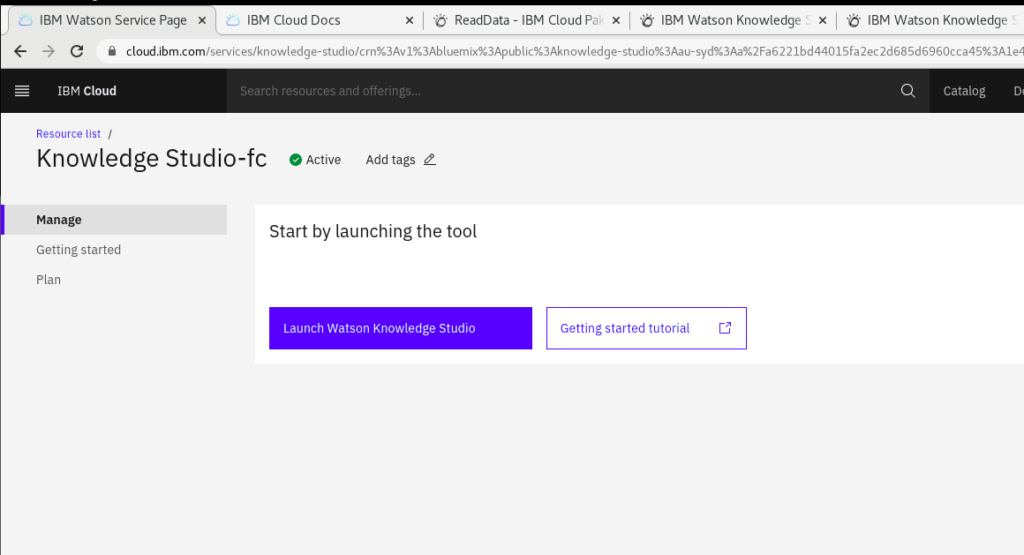
- Similarly, create a Custom ML instance in Watson Knowledge Studio:
- Create an instance of Watson Studio.
- There are different plans available; the Lite plan is now free of cost.
- Once you create an instance, you can launch the service.
- Now, create a workspace.

- To Create a Custom Machine Learning Model:
- First, we need training data, which must be uploaded in Documents under Assets in the right menu bar.
- It allows CSV, text, doc, docx, pdf, html, and zip file types.
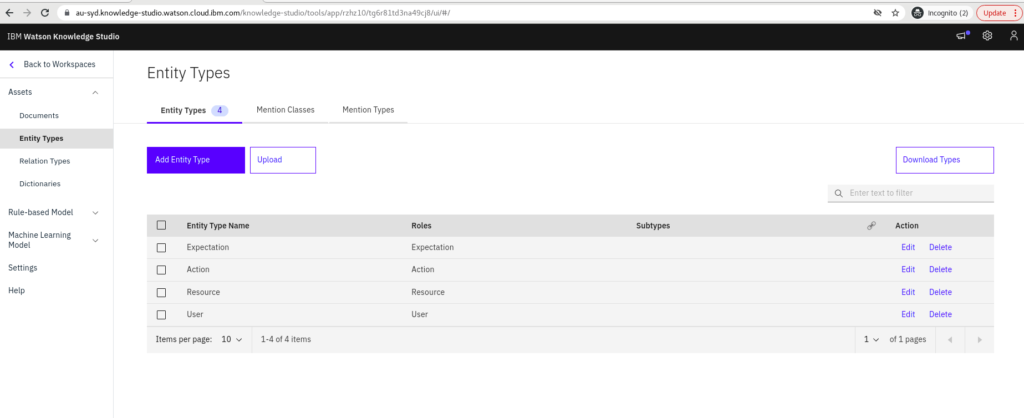
- Now, create Entity Types as per your requirement, which is also present in the right menu under Documents.
- Now, map the training data with entity types in the Annotation section under Machine Learning. It will be located in the left menu of the screen.
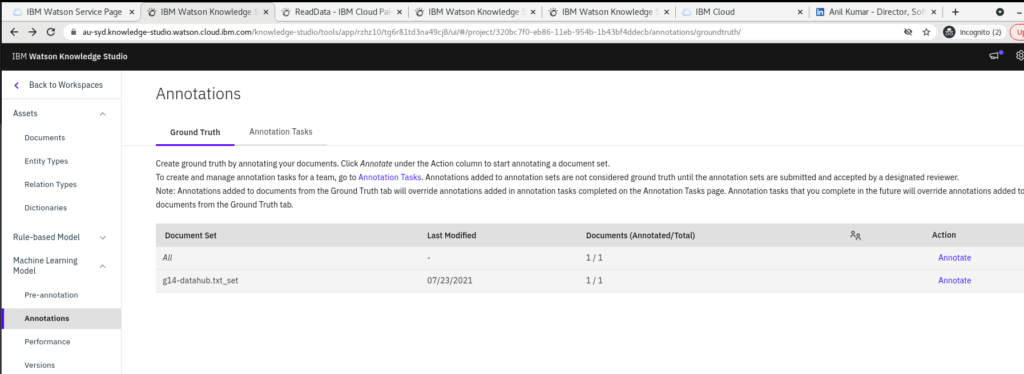
- The uploaded dataset will be displayed on the screen. You can select the “Annotation” option presented on the right side of the file shown in the above screen.
- Click on the Annotation option for the dataset you want to link with entities.
- You can map the content with entity types as shown below.

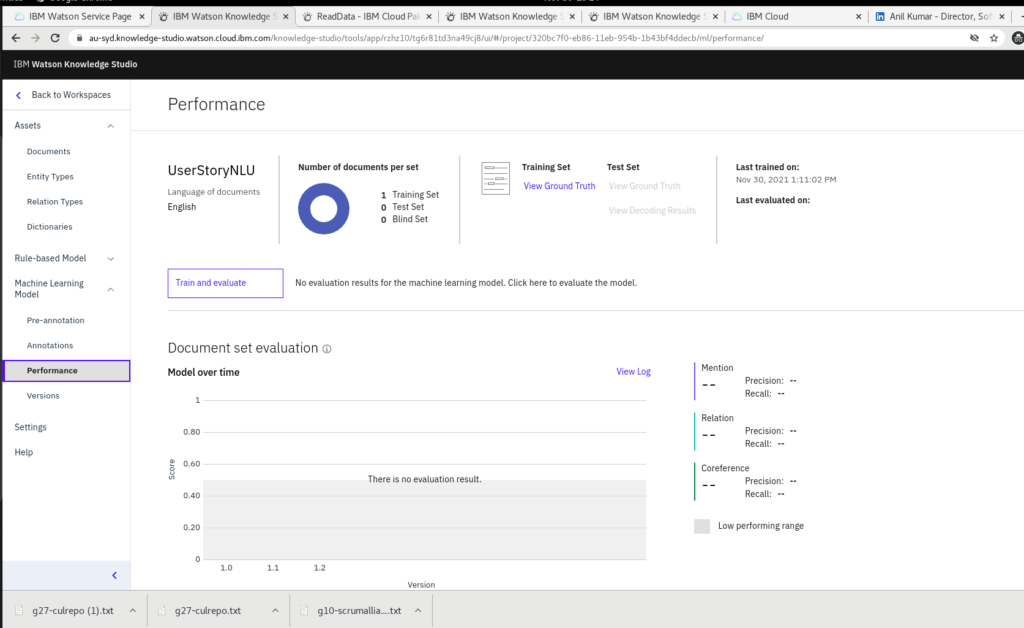
- Once you link the content with entities, you can select the performance option to train and evaluate your model. See the screen below
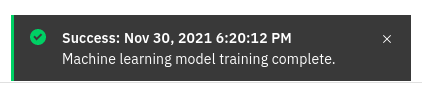
- It takes some time to train the model; once you achieve success,
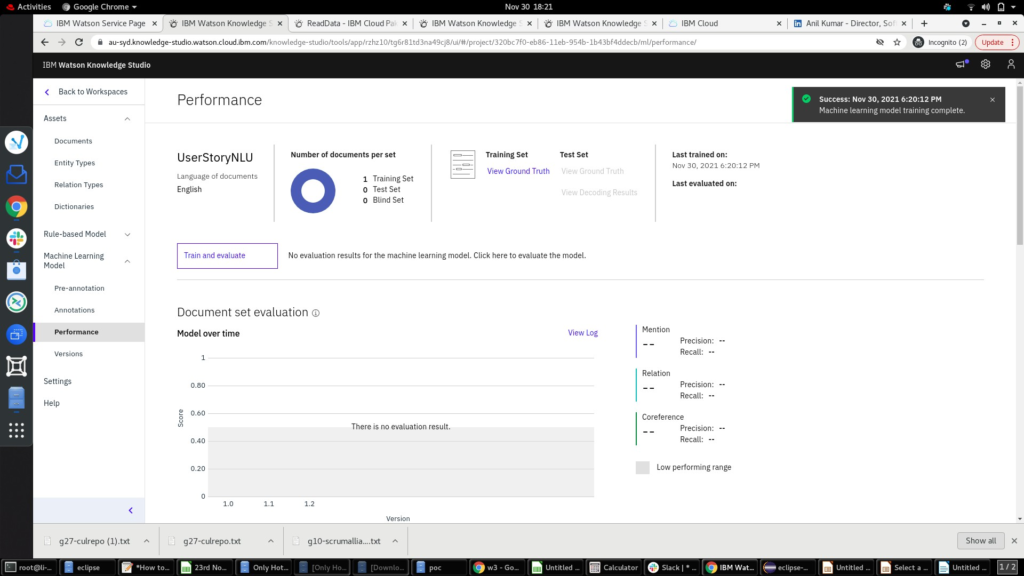
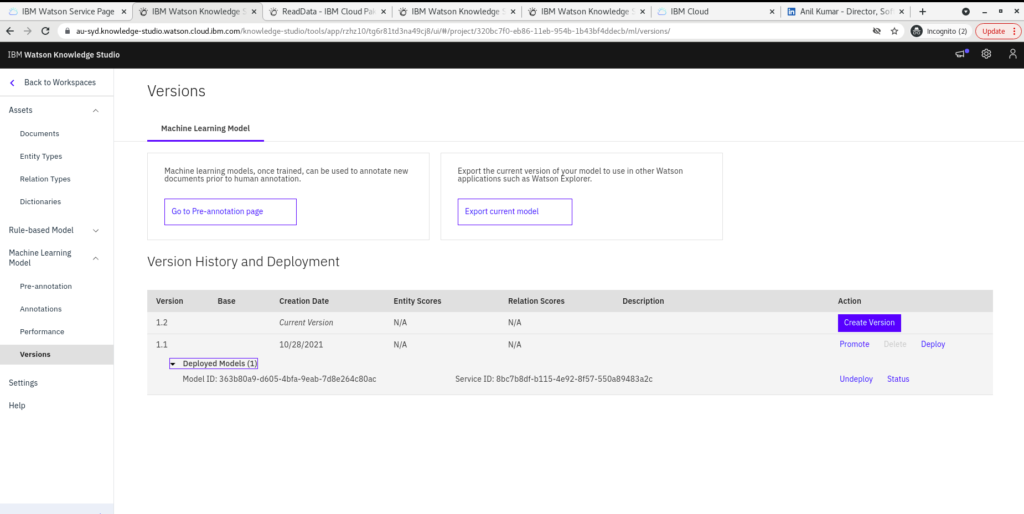
- Now deploy the ML model,
- Navigate to ‘Version’ under the ML menu item and click ‘Deploy’.
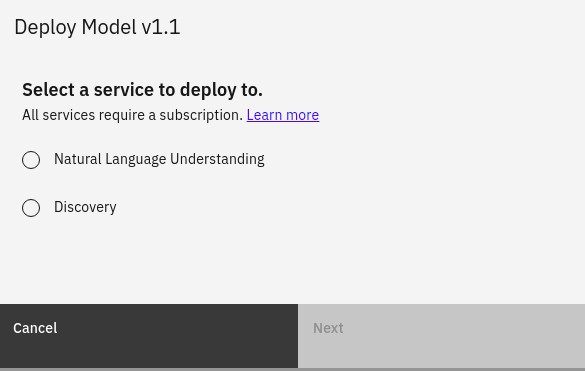
- Click on NLU and then click Next. It will take you to the existing NLU in your cloud account and deploy it.
- You can find the Custom ML Model ID and Service ID under ‘Deploy Models’. See below.
Conclusion:
In conclusion, the combination of Watson Knowledge Studio for custom machine learning model creation and Watson Natural Language Understanding for advanced text analysis provides a robust framework for organizations aiming to extract valuable insights from textual data. By following the outlined steps—from setting up your IBM Cloud account and creating instances of NLU services to developing and deploying custom ML models—you can empower your applications with cutting-edge AI capabilities. Whether you’re exploring AI for the first time or looking to enhance existing solutions, leveraging these tools can significantly accelerate your journey towards smarter, more insightful data-driven decisions. Embrace the power of AI with IBM Watson and transform how you analyze and understand your data today.